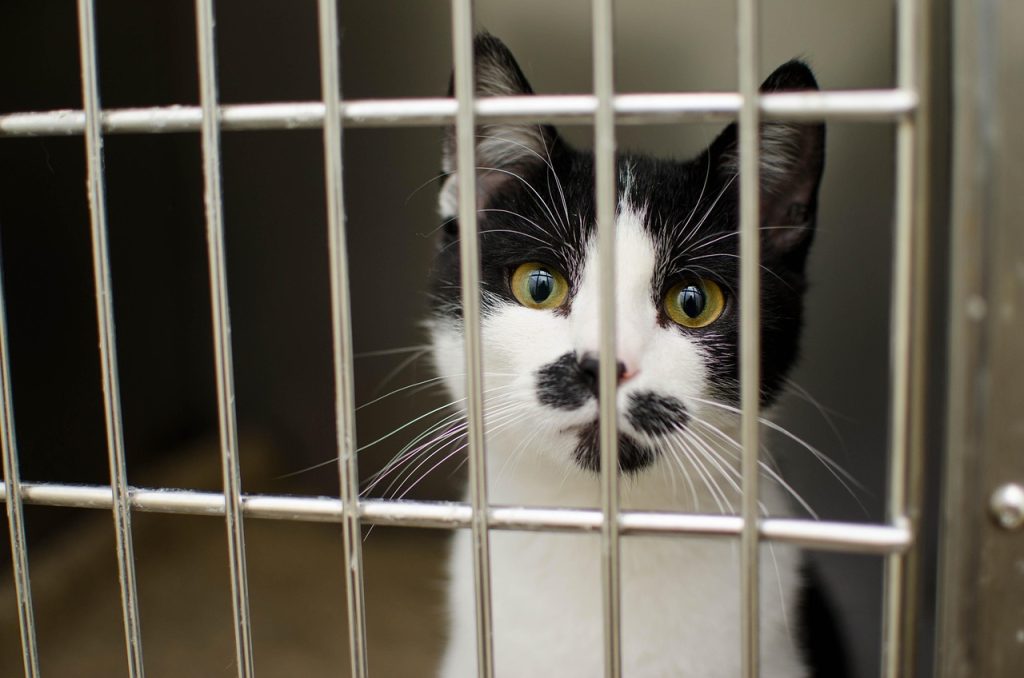
Owning a small pet can be a rewarding experience, providing companionship and joy. However, with pet ownership comes the responsibility of maintaining a clean living environment for your furry friend. Proper cage cleaning is crucial for preventing health issues, ensuring your pet’s comfort, and keeping odors at bay. This ultimate guide will walk you through the processes, tools, and tips needed to clean small pet cages effectively.
Understanding the Importance of Regular Cleaning
Keeping your small pet’s cage clean is essential for several reasons. A clean cage reduces the risk of bacterial and fungal infections, prevents respiratory issues caused by ammonia build-up, and minimizes stress for your pet. Regular cleaning also helps in detecting potential health problems early, as it allows you to monitor changes in your pet’s waste or food consumption.
Tools and Supplies Needed
Before beginning the cleaning process, it’s essential to gather all necessary tools and supplies. Having everything on hand will make the cleaning process more efficient and thorough.
Cage Cleaning Tools
– **Disposable Gloves**: Protects your hands from germs and cleaning agents.
– **Scrub Brushes**: Different sizes for different surfaces; a toothbrush can be useful for small areas.
– **Sponges and Cloths**: Use separate ones for cleaning and drying.
– **Dustpan and Brush**: For removing loose bedding and debris.
– **Vacuum Cleaner**: Optional, but useful for cleaning up stray bedding and dust.
Cleaning Solutions
– **Pet-Safe Disinfectant**: Choose a product specifically designed for pet environments to avoid harmful chemicals.
– **Vinegar and Water Solution**: A natural, non-toxic cleaning alternative.
– **Baking Soda**: For deodorizing purposes.
Other Supplies
– **Trash Bags**: For disposing of old bedding and waste.
– **Replacement Bedding or Substrate**: Ensure you have enough fresh bedding.
– **Paper Towels**: For spot cleaning and drying surfaces.
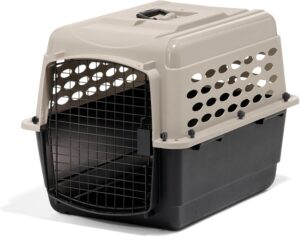
– **Temporary Holding Cage**: A safe space for your pet while you clean their main cage.
The Step-by-Step Cleaning Process
Step 1: Prepare the Cage for Cleaning
Begin by removing your pet from the cage and placing them in a secure, temporary environment. Ensure the temporary area is comfortable and provides food and water if necessary.
Next, remove all items from the cage, including toys, food dishes, water bottles, and any other accessories. Check these items for wear and tear, and replace them if needed.
Step 2: Dispose of Bedding and Waste
Using a dustpan and brush, remove all old bedding and waste from the cage. Place this in a trash bag and seal it to prevent odors and bacteria from spreading. If using a vacuum cleaner, be cautious to avoid picking up small toys or cage components.
Step 3: Clean the Cage Interior
Once the cage is empty, it’s time to scrub it down. Apply a pet-safe disinfectant or a vinegar and water solution to the cage surfaces. Use a scrub brush or sponge to clean every corner, paying particular attention to areas that are frequently soiled. Rinse thoroughly with water to remove any cleaning residue.
Step 4: Clean Cage Accessories
While the cage dries, clean the accessories. Food dishes and water bottles should be washed with hot, soapy water, and rinsed well. Toys can be wiped down with a disinfectant or washed depending on material. Remember to dry all accessories completely to prevent mold growth.
Step 5: Dry and Reassemble the Cage
Using a clean cloth or paper towel, dry the cage thoroughly. Ensure all moisture is removed to prevent rust in metal cages and mold in plastic or wooden ones. Once dry, place fresh bedding or substrate in the cage, spreading it evenly across the base.
Reassemble all accessories and toys, ensuring they are securely attached or positioned. Refill food dishes and water bottles, and place them in their designated spots.
Step 6: Return Your Pet to Their Clean Home
After ensuring the cage is clean, dry, and reassembled, return your pet to their home. Observe their behavior as they explore the newly cleaned environment, ensuring they seem comfortable and stress-free.
Tips for Maintaining a Clean Cage
Spot Cleaning
In addition to weekly deep cleans, perform spot cleaning daily. Remove soiled bedding, uneaten food, and waste regularly to maintain a hygienic environment.
Use a Cage Liner
Consider using a cage liner beneath the bedding. Liners absorb moisture and can be easily replaced, extending the life of the primary bedding and making clean-up easier.
Odor Control
Sprinkle a small amount of baking soda beneath the bedding to neutralize odors. Ensure it is well-covered so your pet doesn’t ingest it.
Regularly Rotate Toys and Accessories
Switching out toys and accessories keeps your pet engaged and allows you to clean items more thoroughly between uses.
Special Considerations for Different Small Pets
Rabbits and Guinea Pigs
These pets often require more frequent cleaning due to their size and waste production. Ensure their habitat is spacious enough to accommodate a litter area, which can be cleaned daily.
Hamsters and Gerbils
These smaller pets may not require as frequent cage cleaning, but regular spot checks are essential. Ensure their tunnels and hideouts are also cleaned, as these can harbor waste and bacteria.
Birds
Bird cages often get messy quickly due to feathers and seed debris. Clean perches and toys frequently, and change cage liners daily to maintain a clean environment.
Conclusion
Cleaning your small pet’s cage effectively is a vital aspect of pet care that promotes health and happiness. By following this guide, you can ensure a clean, safe, and comfortable environment for your pet, enhancing your bond and their quality of life. Regular maintenance, proper tools, and attention to detail will make cage cleaning an easy and rewarding task, keeping your small pet healthy and thriving.
#ChatGPT assisted in the creation of this article.